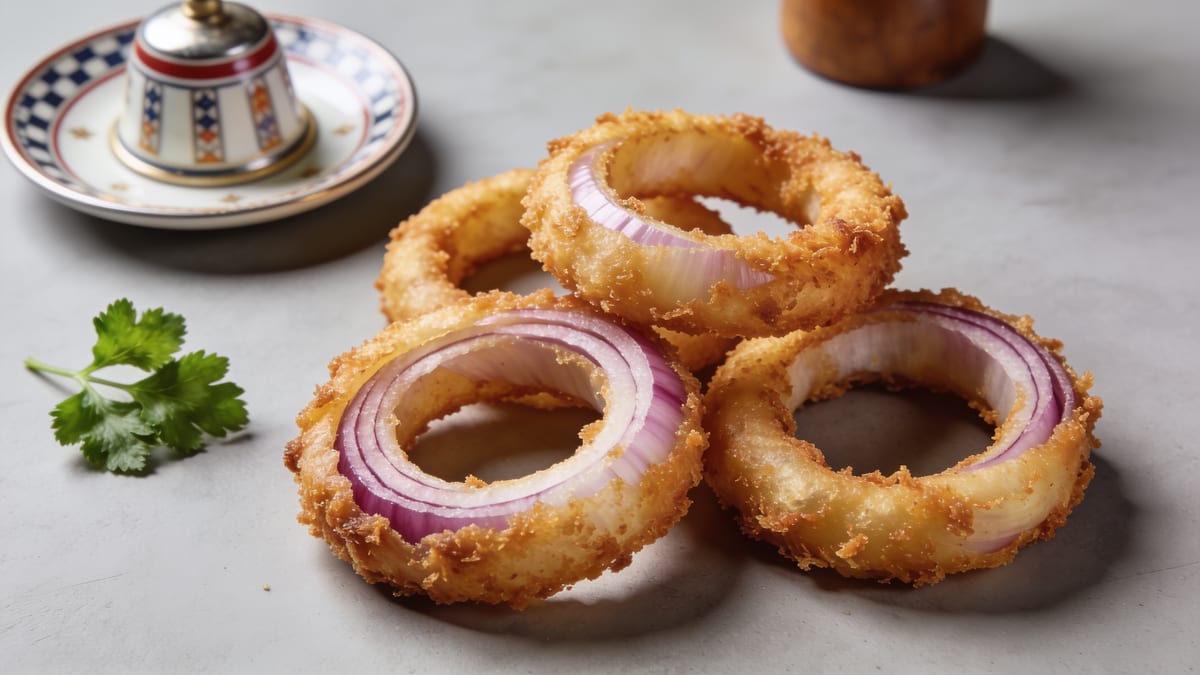
Old-Fashioned Onion Rings
These are the diner-counter onion rings of decades past: thick-cut sweet onion, a tangy buttermilk soak, and a craggy double dredge through seasoned flour that fries up shatteringly crisp. The buttermilk tenderizes the onion and gives the coating something to grip, while a spoonful of cornstarch in the dredge keeps the crust light and crunchy instead of bready. No batter drips, no soggy middles — just golden rings that stay crisp long enough to make it to the table.
Cut 2 large yellow onions into 1 cm (1/2 in) thick slices, separate them into rings, and soak the rings in 480 ml (2 cups) of buttermilk for 30 minutes. Meanwhile, whisk together flour, cornstarch, baking powder, salt, paprika, garlic powder, and pepper in a wide bowl, and heat 5 cm (2 in) of neutral oil in a heavy pot to 185°C (365°F). Working a few rings at a time, lift them from the buttermilk, toss in the seasoned flour, dip briefly back in the buttermilk, then dredge in the flour a second time, pressing so a shaggy coat clings. Fry 5 to 6 rings at a time for 2 to 3 minutes, turning once, until deep golden, then drain on a wire rack and salt immediately. Hold finished rings in a 95°C (200°F) oven while you fry the rest.
- Double-dredge (flour, buttermilk, flour again) and let the coated rings rest 5 minutes before frying — that shaggy second coat is what makes the crust craggy and keeps it attached to the onion.
- Keep the oil between 180 and 190°C (355 and 375°F) and fry in small batches; overcrowding drops the temperature and gives you pale, greasy rings.
- Drain on a wire rack, never on paper towels — trapped steam under the rings is the fastest way to lose your crunch.
Equipment
- Dutch oven or heavy deep pot
- Deep-fry or instant-read thermometer
- Wire rack set over a rimmed sheet pan
- Spider skimmer or long tongs
- Two wide, shallow bowls
- Chef's knife and cutting board
Ingredients
Onions and soak
- large yellow onions, about 700 g / 1 1/2 lb total; sweet onions like Vidalia also work
- 480 ml buttermilk, well shaken
- 10 ml hot sauce, optional, adds a faint tang, not heat
Seasoned dredge
- 160 g all-purpose flour
- 40 g cornstarch, keeps the crust light and crisp
- 4 g baking powder
- 9 g fine sea salt
- 2 g sweet paprika
- 2 g garlic powder
- 1 g freshly ground black pepper
Frying and finishing
- 1.5 L neutral oil, canola, sunflower, or vegetable; enough for 5 cm (2 in) depth in your pot
- flaky salt, for sprinkling the moment the rings leave the oil
Method
- STEP01
Trim the ends off the onions, peel them, and cut crosswise into slices about 1 cm (1/2 in) thick. Gently push the slices apart into individual rings, saving the small inner pieces for another use (they are great chopped into a salad or soup). Peel away any loose, papery film clinging to the rings — it makes the coating slide off later.
- STEP02
Put the rings in a large bowl, pour the buttermilk over them, and stir in the hot sauce if using. Press the rings down so they are mostly submerged and let them soak for 30 minutes at room temperature, turning once or twice. The soak softens the onion's bite and gives the dredge a tacky surface to cling to.
- STEP03
While the onions soak, pour 5 cm (2 in) of oil into a Dutch oven or heavy pot — it should come no more than halfway up the sides — and heat it over medium to 185°C (365°F). In a wide, shallow bowl, whisk together the flour, cornstarch, baking powder, salt, paprika, garlic powder, and pepper. Set a wire rack over a sheet pan next to the stove and heat the oven to 95°C (200°F) for holding.
- STEP04
Working with 4 or 5 rings at a time, lift them from the buttermilk, letting the excess drip off, and toss them in the seasoned flour. Dip them back into the buttermilk for just a second, then return them to the flour and press the coating on firmly so a shaggy, uneven layer sticks. Lay the coated rings on a plate in a single layer and let them rest about 5 minutes so the crust hydrates and sets.
- STEP05
Slide 5 or 6 rings into the hot oil and fry for 2 to 3 minutes, turning once with a spider or tongs, until deep golden brown all over. Keep an eye on the thermometer and adjust the heat so the oil stays between 180 and 190°C (355 and 375°F); let it climb back to temperature between batches.
- STEP06
Lift the rings out, letting oil drain back into the pot, and spread them on the wire rack — not paper towels, which trap steam and soften the crust. Sprinkle with flaky salt immediately, while the surface is still glistening, so it sticks.
- STEP07
Keep finished rings warm on the rack in the low oven while you fry the remaining batches. Serve hot, piled high, with ranch, ketchup, or a smoky comeback sauce for dipping.
Make ahead
You can slice the onions and start the buttermilk soak up to 4 hours ahead — just cover and refrigerate. The seasoned dredge can be mixed days in advance and stored airtight. For longer planning, fry the rings fully, cool them on a rack, freeze in a single layer, and re-crisp straight from frozen in a 200°C (400°F) oven for 8 to 10 minutes.
Storage
Leftover rings keep in an airtight container in the refrigerator for up to 3 days, though the crust softens as they sit. Re-crisp in a 200°C (400°F) oven or air fryer for 5 to 6 minutes until hot and crunchy again; skip the microwave, which turns them limp and chewy.
Variations
Beer-Battered Rings
Skip the double dredge: whisk 160 g (1 1/4 cups) flour, 40 g (1/3 cup) cornstarch, 1 tsp salt, and 330 ml (1 1/3 cups) very cold lager into a thin batter. Dust the soaked rings in plain flour, dip in the batter, and fry as directed. The result is puffier and more pub-style than the craggy diner crust.
Gluten-Free
Swap the all-purpose flour for an equal weight of a 1:1 gluten-free baking blend or white rice flour and confirm your baking powder is certified gluten-free. Rice flour actually fries up extra crisp, so this is one of the easiest gluten-free conversions there is.
Lighter Oven-Baked Rings
After the buttermilk soak, dredge the rings in the seasoned flour, dip back in buttermilk, then press into panko instead of a second flour coat. Arrange on an oiled rack over a sheet pan, spray generously with oil, and bake at 230°C (450°F) for 15 to 18 minutes, flipping once, until golden.
Serve with
Nutrition per serving
Nutrition values are estimates based on the metric measurements. Adjust as needed.
Frequently asked
Why does the coating fall off my onion rings?
Three usual culprits: the slick membrane on each ring, a wet surface, and impatience. Peel off the loose, papery film on the rings before soaking, make sure the first flour coat goes on before the second buttermilk dip, and let the dredged rings rest about 5 minutes before frying so the crust hydrates and bonds to the onion. Turning them only once in the oil also helps keep the shell intact.
What kind of onion is best for onion rings?
Large yellow onions are the classic choice — they are sturdy, widely available, and turn mellow and sweet in hot oil. Sweet onions like Vidalia or Walla Walla make slightly softer, sweeter onion rings, while red onions taste a touch sharper and lose their color when fried. Whatever you choose, cut slices a full 1 cm (1/2 in) thick so the onion does not overcook before the crust browns.
Can I make onion rings without buttermilk?
Yes. Stir 1 tablespoon of lemon juice or white vinegar into 480 ml (2 cups) of whole milk and let it sit 10 minutes to thicken slightly — it will tenderize and grip the flour almost as well as true buttermilk. Plain kefir or thinned plain yogurt also work. Straight milk is the weakest substitute because it lacks the acidity and body that help the coating cling.
What oil should I use, and can I reuse it?
Use a neutral oil with a high smoke point — canola, sunflower, or generic vegetable oil all behave well at 185°C (365°F). After frying, let the oil cool completely, strain it through a fine sieve or cheesecloth, and store it in a sealed jar away from light; it is good for two or three more frying sessions as long as it smells clean and has not darkened dramatically.
How do I keep a big batch of onion rings crispy for serving?
Drain them on a wire rack rather than paper towels, salt them right away, and hold them in a single layer in a 95°C (200°F) oven while you finish frying. They will stay crunchy for a good 30 minutes this way. Stacking them, covering them, or letting them sit on a plate traps steam, and steam is the enemy of every crisp coating.
Cooked this? Rate it.
Real ratings from real cooks. We only show a score once enough of you have weighed in — no fabricated stars.