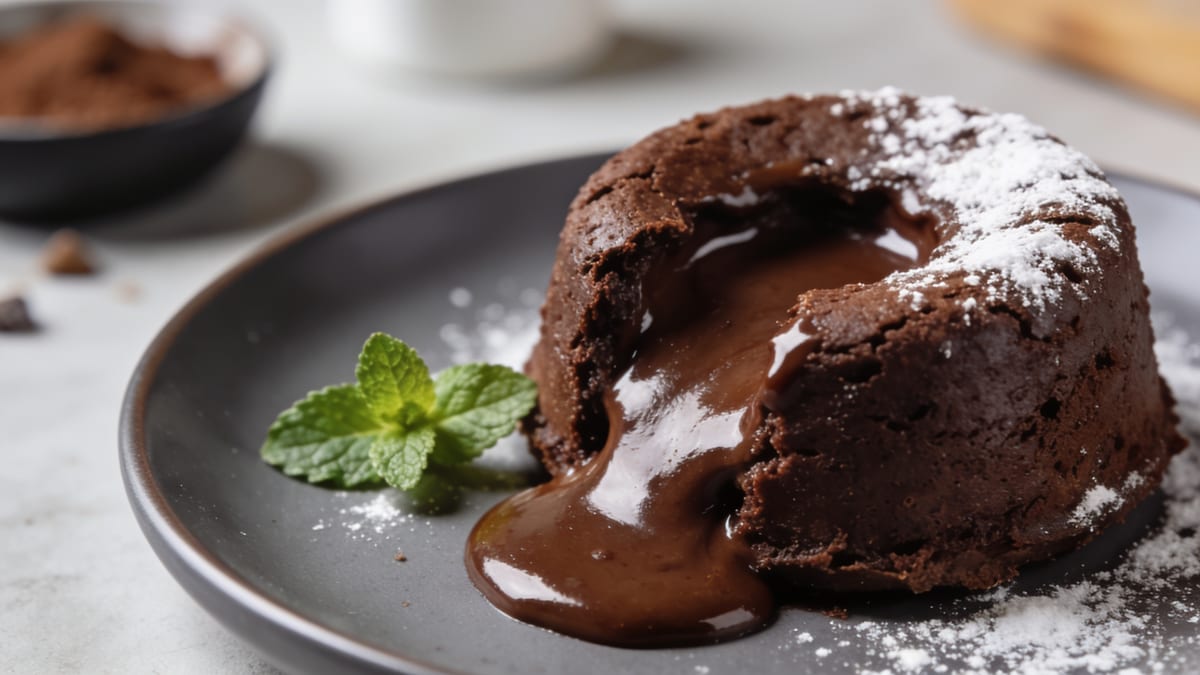
Chocolate Lava Cake
Individual chocolate cakes with a delicate baked rim and a warm, pourable center that floods the plate at first spoonful. The trick is a hot oven and a deliberately short bake: the batter sets from the outside in, so you pull the ramekins while the middle is still molten. Whipping the eggs with sugar first gives the crumb a light, soufflé-like edge instead of a dense brownie texture.
Heat the oven to 220°C (425°F). Butter four 6-ounce ramekins thoroughly and dust with cocoa powder. Melt 170 g (6 oz) chopped bittersweet chocolate with 115 g (1/2 cup) unsalted butter and let it cool slightly. Whisk 2 whole eggs, 2 egg yolks, 65 g (1/3 cup) sugar, 1 tsp vanilla, and a pinch of salt until pale and slightly thickened, about 2 minutes. Fold in the chocolate mixture, then fold in 30 g (1/4 cup) flour just until no streaks remain. Divide among the ramekins, set them on a baking sheet, and bake 10-12 minutes, until the edges are set and the tops look matte and puffed but the centers still wobble. Rest 1 minute, run a thin knife around each rim, invert onto plates, dust with powdered sugar, and serve immediately.
- Pull the cakes when the tops are matte and the centers jiggle like just-set custard — carryover heat finishes the rim, and one extra minute in the oven erases the lava.
- Butter every millimeter of the ramekin and dust with cocoa (not flour) so the cakes release cleanly with no white film.
- Use a chopped bar of good 60-70% chocolate rather than chips; the stabilizers in chips make the center stiff and dull instead of flowing.
Equipment
- Four 6-ounce (180 ml) ramekins
- Rimmed baking sheet
- Medium heatproof mixing bowl
- Balloon whisk or hand mixer
- Flexible silicone spatula
- Fine-mesh sieve for dusting
מצרכים
For the ramekins
- 15 g unsalted butter, very soft, for greasing
- 10 g unsweetened cocoa powder, for dusting; keeps the exterior fully chocolate
Batter
- 170 g bittersweet chocolate (60-70% cacao), chopped, use a bar, not chips
- 115 g unsalted butter, cubed
- large eggs, room temperature
- large egg yolks, room temperature; extra yolks keep the center silky
- 65 g granulated sugar
- 5 ml vanilla extract
- 1.5 g fine sea salt
- 30 g all-purpose flour, spooned and leveled
- 8 g powdered sugar, for serving, optional
אופן ההכנה
- שלב01
Set a rack in the middle of the oven and heat it to 220°C (425°F). Brush the insides of four 6-ounce ramekins generously with the soft butter, getting all the way up the sides and into the bottom corners, then add a spoonful of cocoa powder to each and rotate to coat. Tap out the excess and set the ramekins on a rimmed baking sheet.
- שלב02
Combine the chopped chocolate and cubed butter in a medium heatproof bowl. Microwave in 30-second bursts, stirring between each, until fully melted and glossy — usually 2 to 3 bursts. (Or set the bowl over a pan of barely simmering water and stir until smooth.) Let it cool for a few minutes so it won't scramble the eggs.
- שלב03
In a separate bowl, whisk the eggs, egg yolks, granulated sugar, vanilla, and salt vigorously until the mixture is pale, slightly thickened, and falls in a ribbon from the whisk, about 2 minutes by hand or 1 minute with a hand mixer on medium. This aeration gives the rim its light, souffle-like crumb.
- שלב04
Pour the warm (not hot) chocolate mixture into the egg mixture and fold with a spatula until evenly combined and no marbling remains. Sift the flour over the top and fold gently just until the last streak disappears — overmixing toughens the crumb.
- שלב05
Divide the batter evenly among the prepared ramekins; they should be about three-quarters full. Wipe any drips off the rims so the cakes rise evenly. If you are working ahead, cover and refrigerate the filled ramekins now (see make-ahead notes).
- שלב06
Slide the baking sheet into the oven and bake for 10 to 12 minutes. The cakes are ready when the edges are set and pulling slightly away from the ramekin, the tops are puffed and have gone from shiny to matte, and the very center still wobbles when you nudge the pan. If baking straight from the fridge, add 2 to 3 minutes.
- שלב07
Let the cakes stand for exactly 1 minute — just long enough for the structure to firm so they unmold intact. Run a thin knife around each rim, place an inverted dessert plate over the ramekin, and flip both together using a dry towel to protect your hands. Lift the ramekin straight up, dust with powdered sugar, and serve immediately while the centers still flow.
Make ahead
This is a genuinely make-ahead-friendly dessert. Fill the buttered, cocoa-dusted ramekins, cover with plastic wrap, and refrigerate for up to 24 hours. Bake straight from the fridge, adding 2 to 3 minutes to the bake time and watching for the same visual cues: set edges, matte puffed tops, wobbly centers. You can also freeze the filled ramekins for up to 1 month; bake from frozen at the same temperature for about 16 minutes.
Storage
Lava cakes are at their best the moment they're unmolded, so bake only what you'll serve. Leftover baked cakes keep, covered, in the refrigerator for up to 2 days; the centers will set as they chill. Rewarm a cake on a plate in the microwave for 20-30 seconds to soften the middle — it becomes fudgy rather than flowing, but still delicious. Freezing baked cakes isn't recommended, as the texture turns dense and grainy.
Variations
Gluten-free
Swap the all-purpose flour for 2 tablespoons (16 g) of cornstarch, folded in the same way — the cakes set just as reliably and stay nut-free. Almond flour (30 g) also works and adds a faint frangipane note, but introduces tree nuts. Confirm your chocolate is certified gluten-free.
Salted caramel core
Fill the ramekins halfway, drop a scant tablespoon of thick, cold salted caramel into the center of each, and top with the remaining batter so the caramel is fully enclosed. Bake as directed; the caramel melts into a second ribbon of lava. Finish with flaky salt.
Mocha
Whisk 2 teaspoons of instant espresso powder into the warm chocolate-butter mixture and add 1 tablespoon of coffee liqueur with the vanilla. The coffee deepens the chocolate flavor without reading as mocha-sweet; skip the liqueur for an alcohol-free version and add 1 extra teaspoon of espresso powder.
Serve with
Nutrition per serving
Nutrition values are estimates based on the metric measurements. Adjust as needed.
שאלות נפוצות
How do I know when lava cakes are done without cutting one open?
Go by sight, not just the timer. The edges should look fully set and pull slightly away from the ramekin, the tops should be puffed and matte instead of wet and shiny, and the very center should still wobble like just-set custard when you jiggle the pan. In most ovens that happens between 10 and 12 minutes at 220°C (425°F). If the whole top is firm and springy, the center has set and you'll get a (still tasty) chocolate cake rather than lava.
Can I make this lava cake recipe ahead for a dinner party?
Yes — that's the best feature of this lava cake recipe. Fill the prepared ramekins up to 24 hours ahead, cover, and refrigerate, then bake straight from the fridge while you clear the main course, adding 2 to 3 minutes to the bake time. You can even freeze the filled ramekins for up to a month and bake from frozen in about 16 minutes. What you can't do is hold them after baking; the molten center keeps cooking from residual heat.
Why did my lava cake stick to the ramekin?
Almost always insufficient greasing. Use very soft butter and a pastry brush so you coat the full interior, including the corner where the wall meets the base, then dust with cocoa powder and tap out the excess — the cocoa forms a release layer and, unlike flour, leaves no pale streaks. Also respect the 1-minute rest before inverting: flip too soon and the fragile walls tear, wait too long and the cake steams itself onto the ceramic.
Can I use chocolate chips instead of a chocolate bar?
You can in a pinch, but the center suffers. Chips contain stabilizers designed to help them hold their shape in the oven, so the melted core turns thick and pasty instead of flowing. A chopped bar of 60-70% bittersweet chocolate melts into a loose, glossy lava and carries most of the flavor of the dessert, so this is the one ingredient worth buying well.
I don't own ramekins — what else can I bake these in?
A standard muffin tin works: butter and cocoa-dust 4 to 5 wells, fill them about three-quarters full, and bake at the same temperature for just 8 to 9 minutes, since the wells are shallower and heat through faster. Rest 1 minute, then loosen the edges with a thin knife and lift the cakes out with an offset spatula. Oven-safe teacups or 6-ounce canning jars also work with the standard timing.
Cooked this? Rate it.
Real ratings from real cooks. We only show a score once enough of you have weighed in — no fabricated stars.