치킨 밀라네제
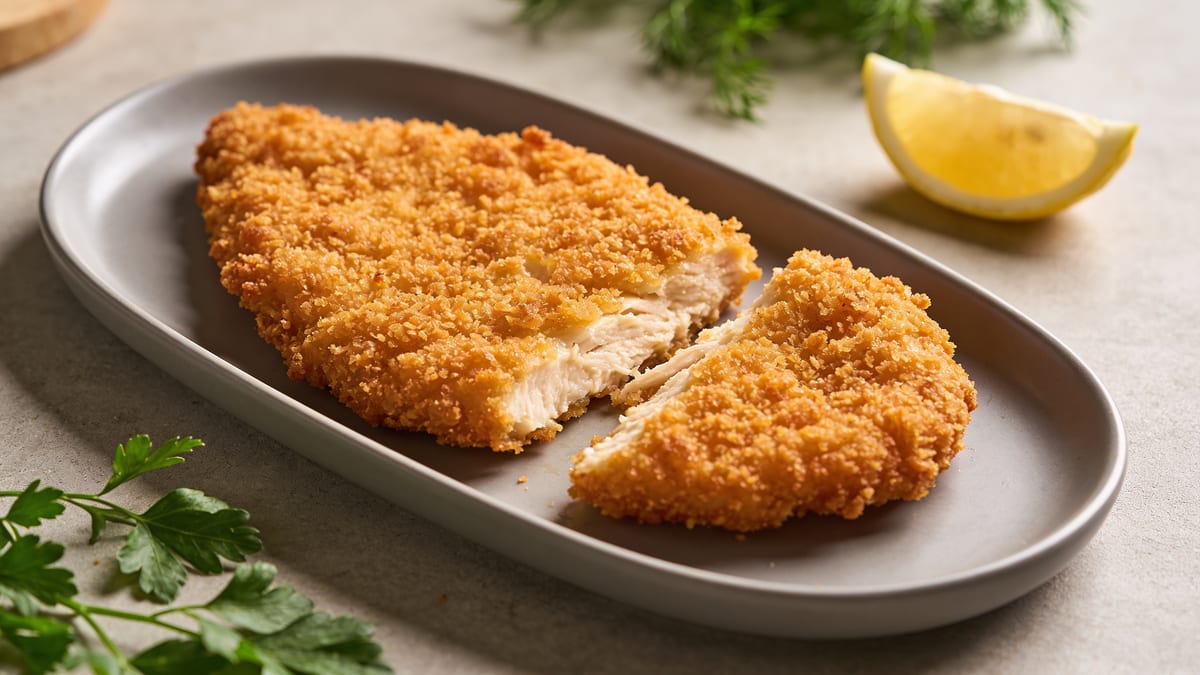
Chicken Milanese is the Italian answer to a perfect weeknight cutlet: chicken breast pounded thin, coated in Parmesan-spiked breadcrumbs, and shallow-fried in olive oil and butter until deeply golden and shatteringly crisp. Pounding the meat to an even 6 mm means it cooks through in the same few minutes the crust needs to brown, so you get juicy chicken and crackly coating in one pass. A squeeze of lemon and a pile of peppery arugula cut the richness and make it taste like a trattoria plate.
Halve 2 large chicken breasts horizontally into 4 cutlets and pound each to 6 mm (1/4 inch) between sheets of plastic wrap, then season with salt and pepper. Set up three shallow dishes: flour; 3 eggs beaten with 1 tbsp water; and 150 g breadcrumbs mixed with 50 g finely grated Parmigiano-Reggiano and a little lemon zest. Coat each cutlet flour-egg-crumbs, pressing the crumbs on firmly, and let them rest 5 minutes so the coating sets. Heat 240 ml olive oil with 30 g butter in a 30 cm skillet to 175°C (350°F) and fry the cutlets two at a time, about 3 minutes per side, until deep golden and 74°C (165°F) inside. Drain on a wire rack, hit with flaky salt, and serve hot with lemon wedges and arugula.
- Pound the cutlets to an even 6 mm (1/4 inch) — even thickness is what lets the chicken finish cooking exactly when the crust turns golden.
- Keep the fat at 175°C (350°F): a crumb dropped in should sizzle instantly. Cooler oil makes a greasy crust; hotter burns the Parmesan before the chicken cooks.
- Drain fried cutlets on a wire rack, never paper towels, so steam escapes and the underside stays crisp.
Equipment
- Meat mallet or heavy small skillet
- Cutting board and sharp chef's knife
- 3 shallow dishes or pie plates
- Large 30 cm (12-inch) heavy skillet
- Tongs or a fish spatula
- Wire rack set over a sheet pan
- Instant-read thermometer
재료
Chicken
- boneless, skinless chicken breasts, large, about 700 g / 1 1/2 lb total
- 6 g fine sea salt
- 1 g freshly ground black pepper
Breading
- 60 g all-purpose flour
- large eggs
- 15 ml water, to loosen the eggs
- 150 g fine dried breadcrumbs, plain, not seasoned
- 50 g Parmigiano-Reggiano, finely grated
- 2 g finely grated lemon zest, optional but recommended
- 3 g fine sea salt
Frying and serving
- 240 ml olive oil, or a neutral oil, for shallow frying
- 30 g unsalted butter, added to the oil for flavor and color
- lemon, cut into wedges
- flaky sea salt, for finishing
- 60 g baby arugula, optional, for serving
조리법
- 단계01
Lay each chicken breast flat and, with your knife parallel to the board, slice it horizontally into two even cutlets — you will have 4 total. Place one cutlet between two sheets of plastic wrap and pound gently from the center outward with a meat mallet or the bottom of a heavy skillet until it is an even 6 mm (1/4 inch) thick. Repeat with the rest, then season both sides of every cutlet with the fine salt and pepper.
- 단계02
Arrange three shallow dishes in a row. Put the flour in the first. In the second, beat the eggs with the water until completely smooth. In the third, stir together the breadcrumbs, grated Parmigiano-Reggiano, lemon zest, and the 1/2 tsp salt. Set the wire rack over a sheet pan at the end of the line to hold the breaded cutlets.
- 단계03
Working with one cutlet at a time, dredge it in flour and shake off every bit of excess — a thin, dusty layer is all you want. Dip it in the egg, letting extra drip back into the dish, then lay it in the crumb mixture and press down firmly with your palm on both sides so the crumbs really grip. Transfer to the rack and repeat with the remaining cutlets.
- 단계04
Let the breaded cutlets sit on the rack for 5 minutes — this short rest hydrates the coating and glues it to the chicken so it will not slide off in the pan. Meanwhile, pour the olive oil into the skillet, add the butter, and warm over medium heat until it reaches 175°C (350°F); a pinch of breadcrumbs should sizzle on contact. The fat should be about 5 mm deep.
- 단계05
Lay 2 cutlets into the hot fat, sliding them away from you. Fry undisturbed for about 3 minutes, until the edges are deeply golden, then flip once with tongs and fry 2 to 3 minutes more, until the second side matches and an instant-read thermometer registers 74°C (165°F) in the center. Adjust the heat as needed to keep a steady, lively sizzle.
- 단계06
Transfer the finished cutlets to the clean wire rack and sprinkle immediately with flaky salt. Let the fat come back to temperature for a minute, skim out any loose burnt crumbs, then fry the remaining 2 cutlets the same way, about 3 minutes per side. If you want to hold the first batch hot, keep it on the rack in a 90°C (200°F) oven.
- 단계07
Plate each cutlet whole, top with a handful of arugula if using, and add a lemon wedge to every plate. Serve right away, while the crust is at its crispest, squeezing the lemon over just before eating.
Make ahead
You can bread the cutlets up to 8 hours ahead: arrange them in a single layer on a rack-lined sheet pan and refrigerate uncovered, which actually helps the coating stick better. For longer storage, freeze the breaded raw cutlets flat until solid, then bag them for up to 1 month and fry straight from frozen, adding 1 to 2 minutes per side and keeping the fat slightly cooler so the center cooks through.
Storage
Refrigerate leftover cutlets in an airtight container, with parchment between layers, for up to 3 days. Re-crisp on a wire rack in a 200°C (400°F) oven or air fryer for 8 to 10 minutes until hot through; the microwave will turn the crust soft and leathery. Freezing cooked cutlets works in a pinch (up to 2 months), but the coating loses some crunch.
Variations
Gluten-free Milanese
Swap the all-purpose flour for rice flour or a cup-for-cup gluten-free blend and use certified gluten-free breadcrumbs. Rice flour actually fries up extra crisp, so this version gives nothing away — just check that your breadcrumbs are finely ground so they hug the cutlet.
Milanese completa
Turn each cutlet into a full plate the Milan-meets-Buenos-Aires way: pile the hot cutlet with arugula, halved cherry tomatoes, shaved Parmigiano, and a drizzle of good olive oil and balsamic. The warm crust wilts the salad slightly and the tomato juices act as a bright dressing.
Lighter oven-baked cutlets
Toast the breadcrumbs in a dry skillet with 1 tbsp olive oil until golden before breading, then bake the cutlets on an oiled wire rack at 220°C (425°F) for 12 to 15 minutes, flipping once. Pre-toasting is the trick — the oven alone will not brown the crumbs before the thin chicken overcooks.
Serve with
Nutrition per serving
Nutrition values are estimates based on the metric measurements. Adjust as needed.
자주 묻는 질문
What is the difference between chicken Milanese and chicken Parmesan?
They start the same way — a breaded, fried chicken cutlet — but chicken Milanese is served as-is, crisp and golden, finished with just lemon and often a simple arugula salad. Chicken Parmesan takes that cutlet and buries it under tomato sauce and melted mozzarella before baking. If you want the crust to stay crackly, chicken milanese is the one to make; the cheese in this recipe lives in the breading itself rather than on top.
Why does the breading fall off my cutlets?
Three usual culprits: too much flour left on the meat (shake it off until it is just a dusty film), skipping the firm press when the cutlet hits the crumbs, and moving the chicken too soon in the pan. The 5-minute rest after breading also matters — it gives the egg time to hydrate the crumbs and bond everything together. Flip only once, and only after the first side is fully golden and releases easily.
Can I use panko instead of fine breadcrumbs?
Yes, though the result is more Japanese katsu than classic chicken milanese. Traditional Milanese uses fine, dry crumbs that form a thin, even shell and let the Parmesan distribute through the coating. If you use panko, crush it lightly in a bag first so it adheres to the thin cutlet, and watch the heat — panko's airy flakes brown faster.
Can I make chicken milanese ahead for guests?
The best strategy is to bread ahead and fry at the last minute: breaded cutlets hold uncovered in the fridge for up to 8 hours, and each batch fries in about 6 minutes. If you must fry ahead, hold the cooked cutlets on a wire rack in a 90°C (200°F) oven for up to 30 minutes — the rack keeps air circulating so the underside does not steam and soften.
What is the best oil for frying, and can I skip the butter?
A moderate, everyday olive oil is traditional and gives the crust real flavor; save your expensive extra-virgin for drizzling. Neutral oils like sunflower or canola also work well. The butter is optional but worthwhile — it deepens the color and adds a nutty edge to the crust. For dairy-free cooks, drop the butter and replace the Parmesan in the crumbs with 1/2 tsp extra salt or nutritional yeast.
Cooked this? Rate it.
Real ratings from real cooks. We only show a score once enough of you have weighed in — no fabricated stars.